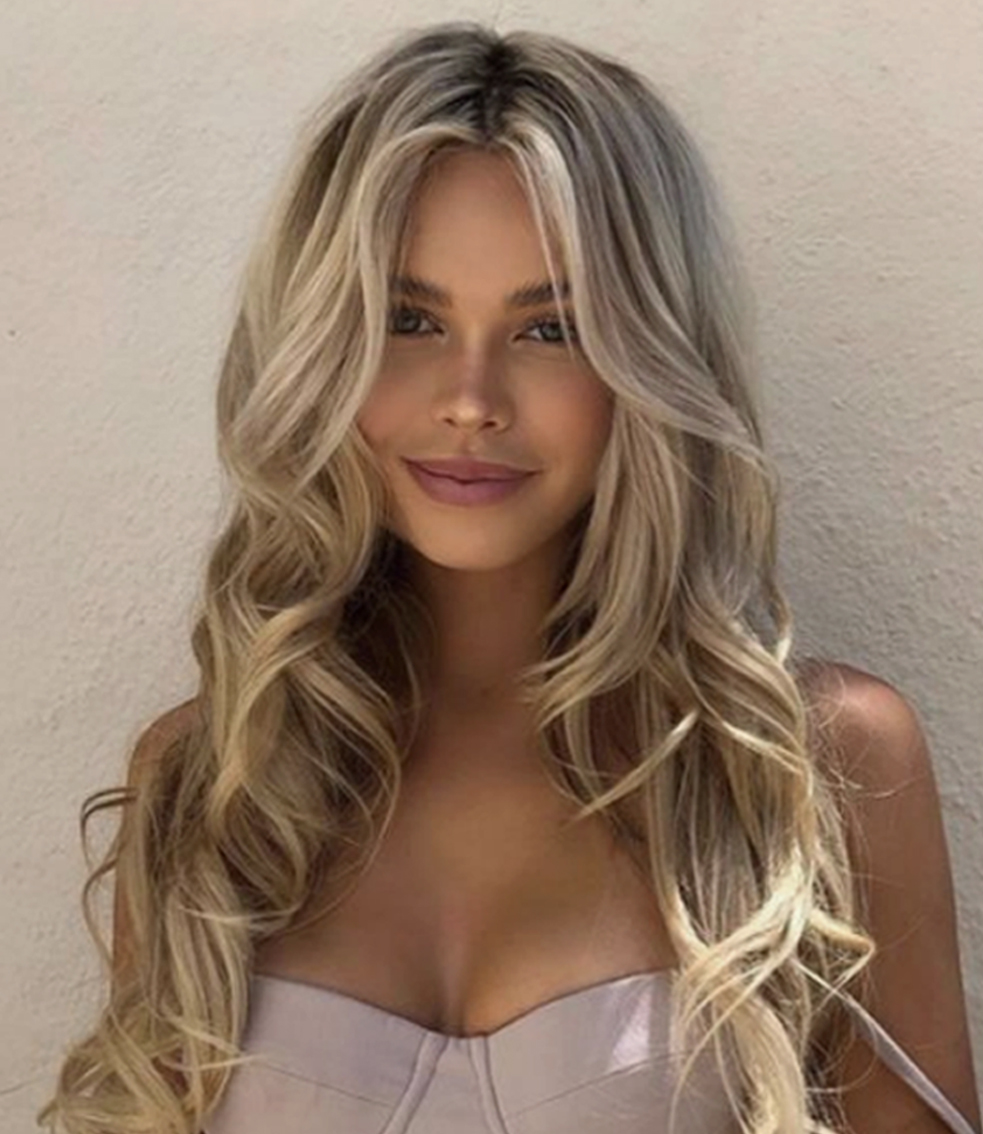
6 TIPS FOR GETTING PAMELA ANDERSON INSPIRED VOLUME
Whether you’re trying to emulate the Daisy Jones 70’s vibe or you’re after a more Pamela Anderson 90’s style, everyone’s currently trying to pump as much volume into their hair as possible. Getting your hair effortlessly big and messy isn’t as easy as it looks though, especially if you have thinner hair. Here are some of our tips for giving your hair heaps of volume and getting it to stay that way throughout the day.

1. Prep your hair
It’s super important to start with a good base, no matter what style of hair you’re trying to achieve. To prep your hair, use a volumising shampoo and conditioner like our Full Volume range to help add body and bounce right from the get-go. It works by cleansing and restoring your hair without weighing it down, then uses thickening polymers to help your hair look fuller.
Once you’ve washed your hair, it’s time to create your base. If you’ve got thicker hair, going in with a mousse and a root-lifting spray will be all you need to use to be on your way to elevated, voluminous hair. We’d recommend our Xagerate Mousse and Amp It Up Volume spray to help lift your hair from the roots, creating fuller, texturised hair.
If you have thinner hair, our Double Up Thicken cream will be your new secret weapon.
As the name suggests, it helps to thicken up the look of your hair, while also working to strengthen and repair damaged hair with its key ingredient: soy protein. Use this in combination with a mousse and volume spray, and you’ll be ready to start styling.
2. Blow dry it up and away from your face
Hair lifted with heaps of volume requires some heat styling, so spray some of our Dry Heat Guard on your mids to ends to protect them from any damage. As a bonus, our heat protectant spray also prevents frizz, even from humidity. Section your hair so you can easily reach the roots of all your layers, and start blow drying from the bottom layer using a round styling brush. Blow dry up and away from your face as much as possible to start building height and dimension, especially as you get to the top layers.
3. Curl in opposite directions
Next, it’s time to add some texture with curls. Section your hair again, and using either an AirWrap or a thick-barrel curling wand, curl each section in opposite directions. For example, if you curl the piece of hair closest to your face under the wand, ensure you curl the next section over the wand. When you reach the above layer of sections, ensure you’re also curling in the opposite direction of the curl underneath it.
4. Curl away from your face
Once your reach the crown of your head, section your hair into thirds from the front to the back. Curl each of these sections up, back and away from your face. This creates more than just volume – it’ll ensure your hair frames your face perfectly.
5. Pin your curls
As you create each curl, you can secure them while they cool using either a hairpin or a roller to give your hair maximum hold. If you’re using pins or rollers, give your hair a generous spray with our Stuck Up Lacquer before unwinding them to help your hair hold its shape over time.
6. Set your hair well
Now that your hair’s curled, we’re almost finished! Take your hair out of the pins/rollers if you used them, and then run your fingers loosely through all the curls to break them up and add texture and dimension. Flip your head upside down and spray Stuck Up Lacquer through your hair, then flip it back and finish your look with a final spritz of hairspray.
Now you’re ready to go and serve looks with your beauty queen blowout!